モノコック前方にペダル類を取り付けます。また、配線などのディテールも追加します。
The pedals are installed in the front section of the monocoque.
Wiring and other details are also added.
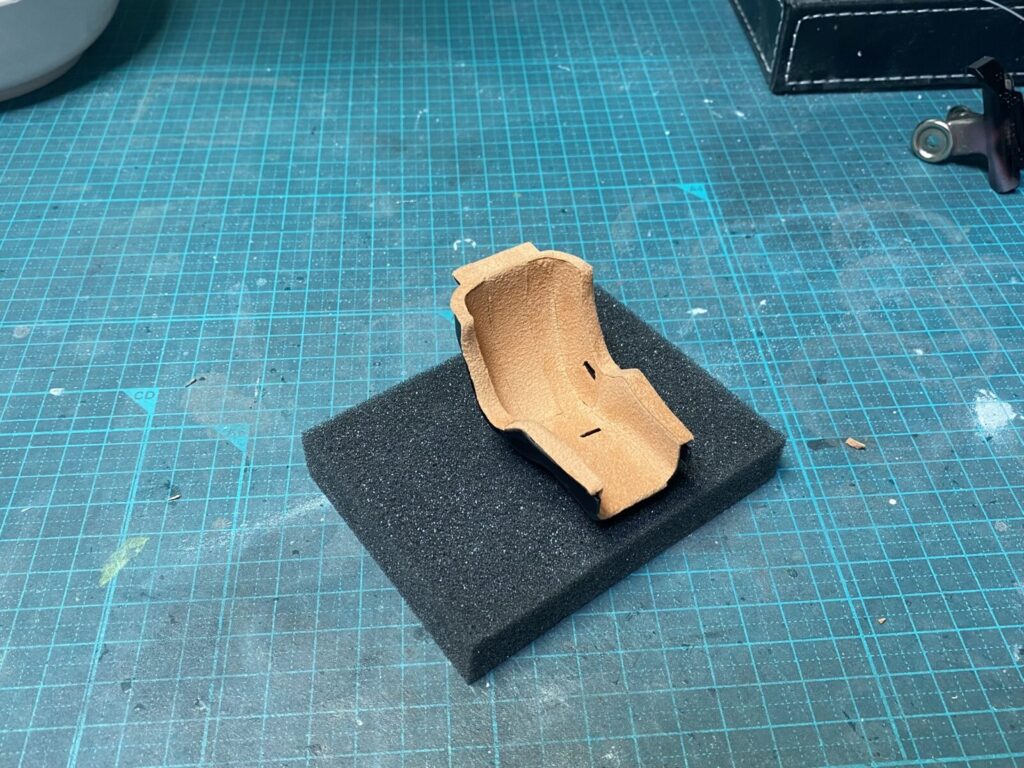
シートは全体を塗装し、塗装が乾いたら表面全体にスエードを貼ります。
The seat is painted overall, and once the paint has dried, suede is applied over the entire surface.
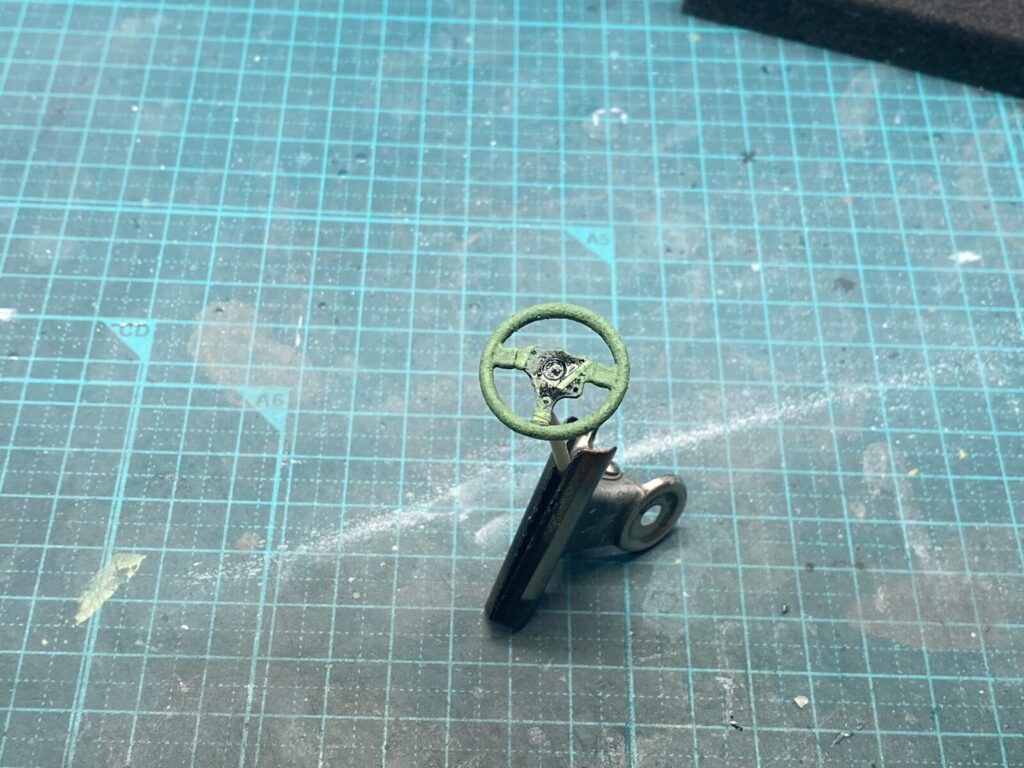
ステアリングのグリップ部分をスエード調に再現するため、パテで下地を作ります。
Putty is used to create a textured base on the grip area of the steering wheel to replicate a suede finish.
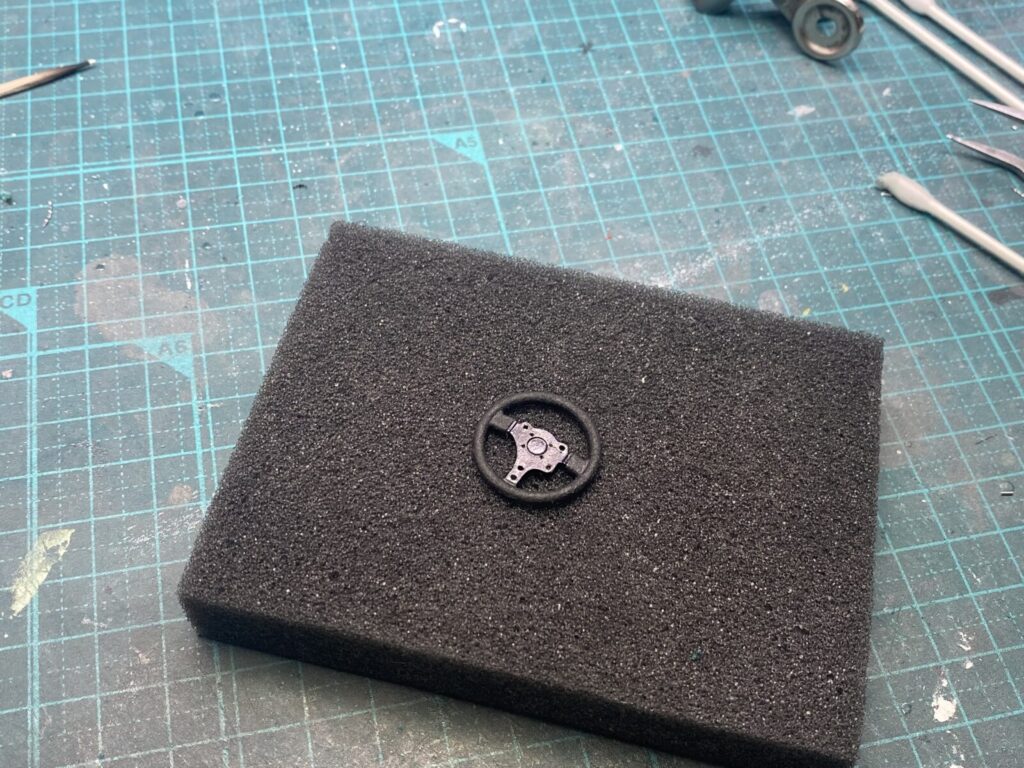
下地ができたら、各部分を塗り分けていきます。
Once the base is prepared, the different areas are painted separately.
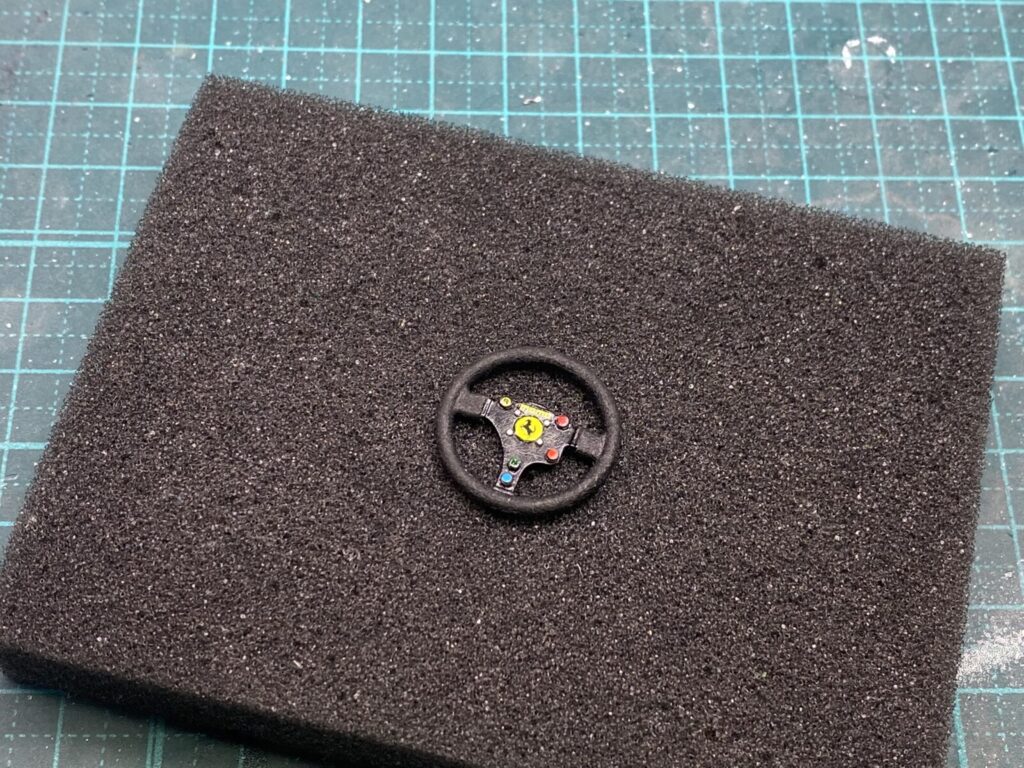
ステアリングに各種スイッチを追加し、デカールも貼ります。
Various switches are added to the steering wheel, and decals are also applied.
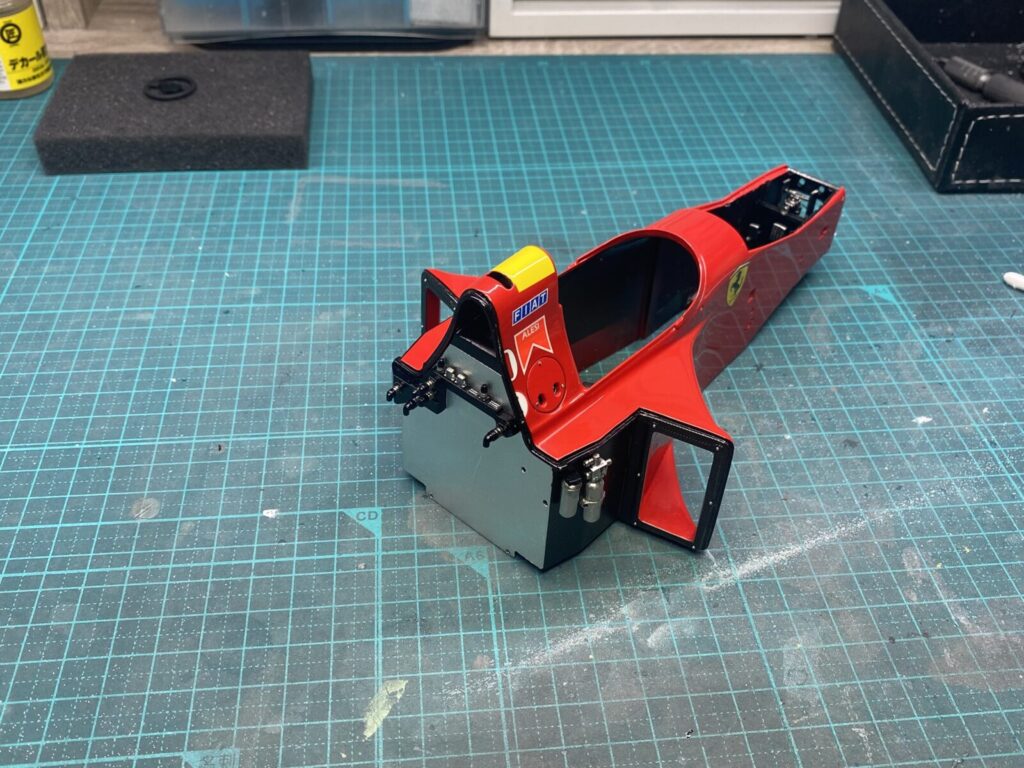
モノコック後方にコネクター類を取り付けます。
Connectors are installed at the rear of the monocoque.
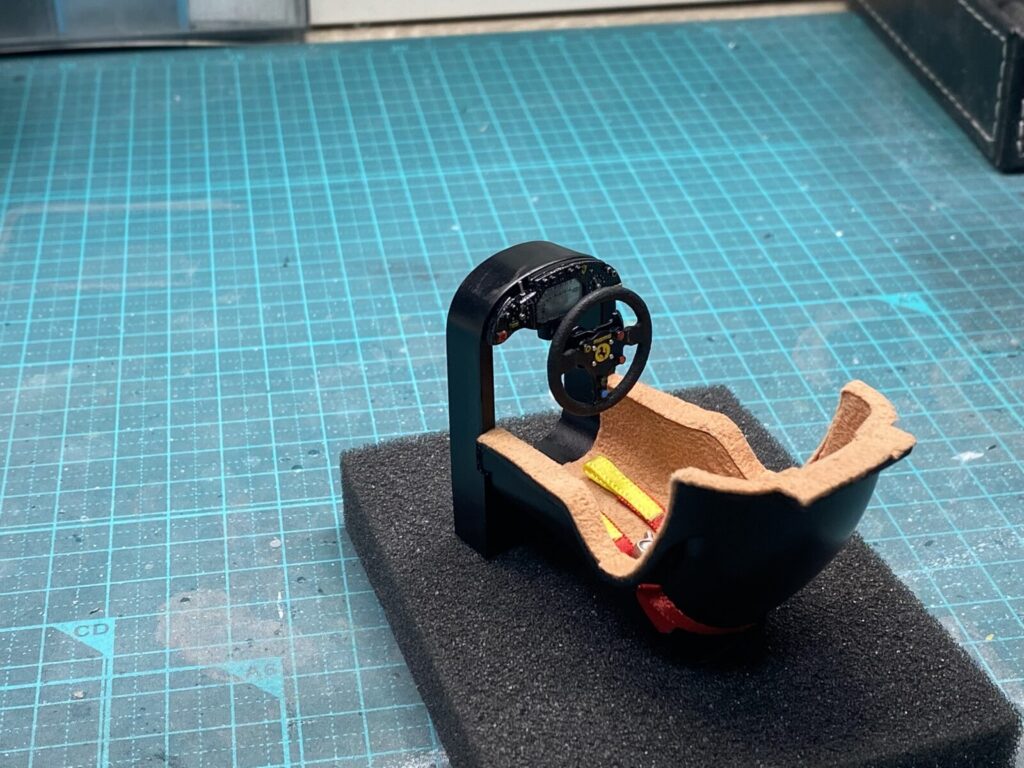
メーターパネルは改修しながら組み立てていきます。
その後、シートとステアリングを一体化させます。
シートベルトの腰部分もこの時点で取り付けておきます。
The instrument panel is modified as it is assembled.
After that, the seat and steering wheel are combined into one unit.
The lap belts are also installed at this stage.
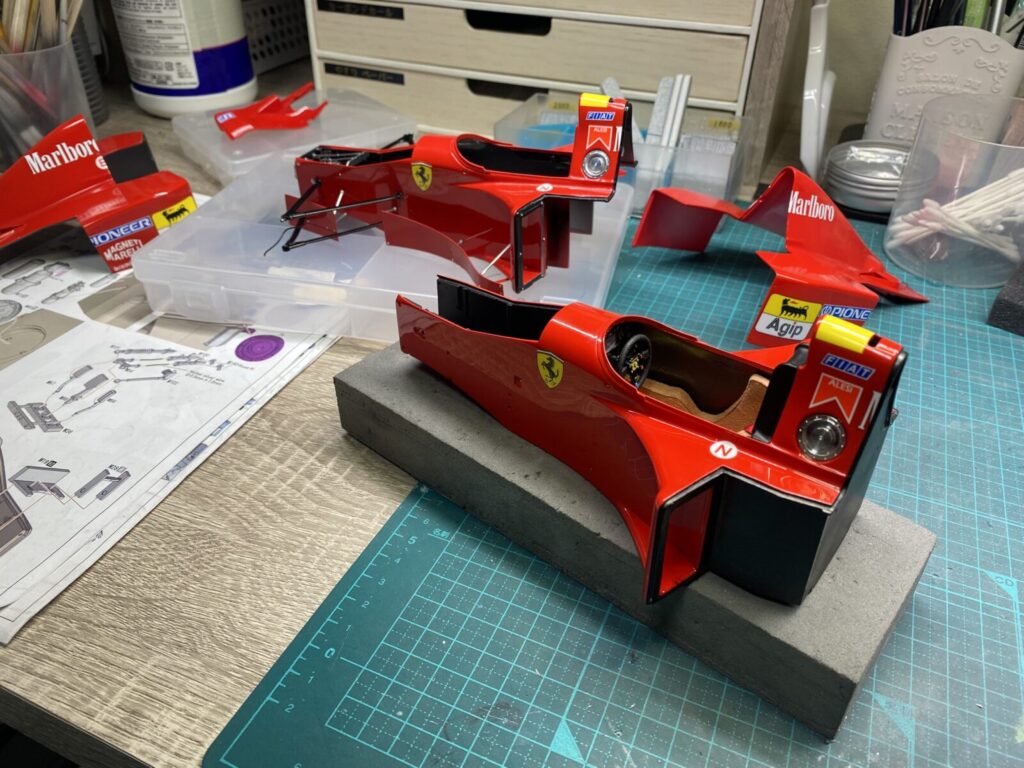
製作しておいたメーターパネルやシートをコックピットに取り付けます。
The assembled instrument panel and seat are installed in the cockpit.
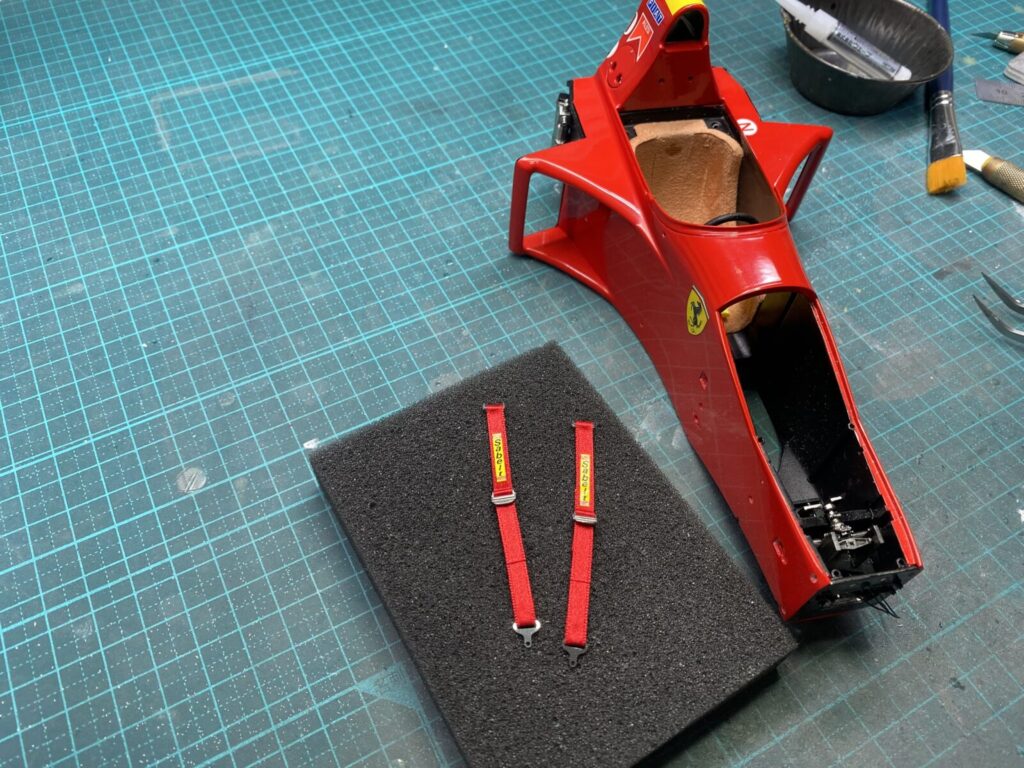
シートベルトのショルダー部分を製作します。
The shoulder belts of the seat harness are fabricated.
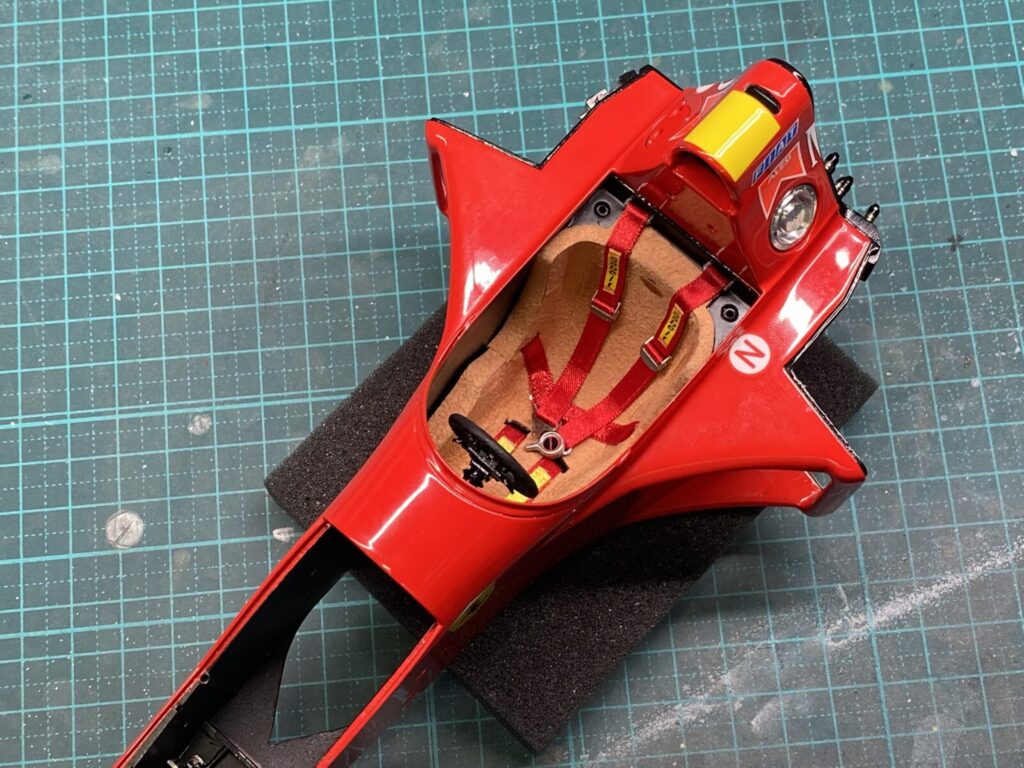
シートベルトの取り付けが完了しました。
The installation of the seat belts is now complete.